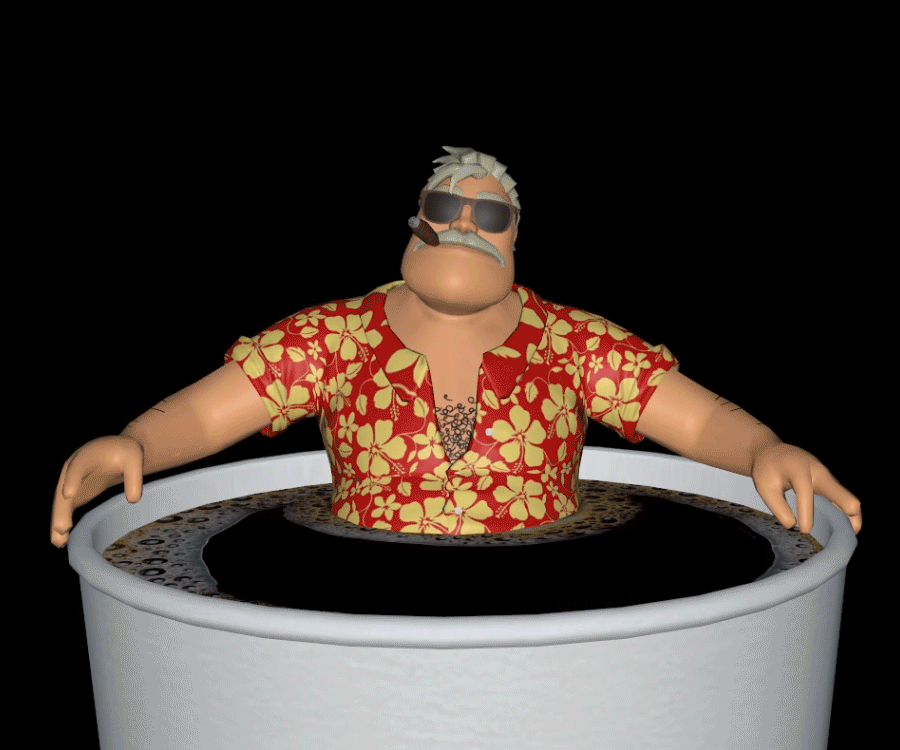
Augmented reality is now on your mobile device, both Apple and Google are now shipping AR viewer in their respective OS, here at Koffeecup, we’ve been embracing this for a little while now and we thought we’d share our findings, good and bad, to help you make the most out of this exciting format.
Using file formats like USDZ and GLB / glTF enable users to view any 3D model in their real environment without having to download an additional software or app. The files can be easily shared via websites, SMS, Google search, e-mail or any instant messaging application like WhatsApp. The recipient can view the 3D model with just one simple click on the file.
While GLB / glTF file formats can be used across most platforms from websites and Android devices, iOS devices require a USDZ format.
Both of these formats are portable, AR ready and photorealistic, which makes adding 3D AR content better and easier than ever before. That being said it does not mean the app-less AR has completely taken over from AR Apps and it does have its limitations which we will go into in more detail later.

UX Considerations
AR allows for a more immersive experience, bringing content to life such as having your favourite game character in your own room or displaying a product in its full size. Many of our projects include such elements and it’s a great way to increase engagement and develop a different perspective.
When adding AR content, there are several UX considerations that need to be taken into account to create the most positive and comfortable experience possible.
Users will not always be aware of what file format the model they are viewing is, be it a USDZ or GLB / glTF. Opening these files to view the model in AR needs to feel simple and integrated with their devices. When they first see the model on the website, the preview is interactive so users can zoom and rotate. This gives an initial introduction to the model and how it can be manipulated.
AR embedded images are still not commonplace so it's important from a UX perspective to provide users with clear indication that they are able to view something new and how to do it. The AR icon is the new tag that users will be looking out for, which indicates that an asset can be viewed as a 3D model and in AR.
With mobile devices USDZ and GLB use their own type of AR viewers, the AR Kit (Apple QuickLook app) or AR Core (Android SceneViewer). Making this transition into the right viewer should be an intuitive journey as it utilises many of the mobile device functions most users are familiar with. They will need to give access to the camera and in the case of Firefox on android additional app settings need to be changed.
Once the model is selected to view in 3D or AR, in the case of Apple QuickLook app, if AR is selected the first step is to map out the area where the model will sit using the iPhone or iPad camera. Users are given simple instructions and an intuitive UI to scan the floor. AR kit displays a semi transparent preview of the models allowing users to see what it is they are placing and once the scan is complete the model is put in place. If at any point the user’s environment is too dark or the phone is not moved enough to map out the environment, prompts are shown to provide the users with instructions to troubleshoot the issue. When the model is in place, users can use the pinch gesture to change the scale of the object as per the web version, and even hold it to move it to a different place.
It's important to make sure users are aware when something is taking time to load otherwise they might think something has broken. Using loading bars and information pop ups at appropriate times helps to stop them from feeling frustrated when they need to wait, or if they need to fix something.
We also need to be mindful that a user’s comfort and safety are important when designing any AR experience. As users need to be holding the phone upright at all times it is best to place objects at a distance that is easy to see the whole model. This helps avoid screen fatigue by reducing the need to move the device too much and find the AR object in the virtual space easily.
Displaying model in the browser and AR app
To integrate models on a website there are a few things to bear in mind. Firstly if you want to implement AR functionality you need to ensure that your device supports the AR Kit (Apple QuickLook app) or AR Core (Android SceneViewer). Most modern devices support these by default, but if they do not then the AR will not work.
In order to display models in the browser we will use a `model-viewer` web component. The model-viewer requires Glb or glTF files and is used for displaying 3D models on the Web. It will also direct devices to display the model in AR mode. For the AR mode, Android also uses GLB or glTF for displaying AR models via Android SceneViewer. While iOS uses USDZ to display AR models via quicklook AR App.
You can find out more on the Model viewer documentation:
How to integrate a model-viewer with your site:
Try for yourself
Below are the files for how we made our AR Barry model - check them out for yourself!
Model-viewer and AR disclaimer
It's worth to note that on the day of publishing this blog post there are many open issues for the model-viewer component. AR technology is still very new in web development and there might be some bugs. Webxr viewer is not working properly yet and it's a good idea to turn it off (don't provide 'webxr' in `ar-modes` attribute). Also there is problem with reading model files if they have bad extension - so keep in mind that you should use lowercase extension like *.glb/*.gltf/*.usdz. Another thing is that you should not forget to add the "quick-look-browsers" attribute to make sure it's always working on iOS - default it's not working properly and AR icon sometimes doesn't appear at all if it's not provided. Model-viewer project is very alive and all of the above issues can be already fixed on the day you are reading this post.
Limitations
One of the main challenges is a strict set of limitations that are imposed so a lot of the features of 3D softwares widely utilised in pre-rendered workflows simply aren’t usable. It is important to look at these limitations before considering converting a model to these 3D formats as many would not inherently be suitable. Here are the main limitations:

Only PBR shaders, no custom shaders.
Vertex colour Is not supported
No refractions
No indirect illumination
No volumes nor fog
No displacement
One set of PBR textures per material
Only one single UV set, with all UVs packed in within a [0,1] region, no overlapping UVs
No UDIMs
Animated deformations from binding of joints/skeletons with geometries.
Animation must be baked in and is not interactive.
USDZ does not support custom cubemaps
Aside from the limitations there are other things to bear in mind, such as avoiding N-gons, loose vertices and non-manifold topology. Keeping topology clean is always important. We also recommend keeping models under 100,000 polygons. While we have managed to run 300,000 polys, loading times and performance tend to take a hit.
Animation
Before even considering texturing and lighting, if your model is animated, then its rig setup needs to be as simple and robust as possible. Deformation techniques like blend shapes are not supported - all deformation must be achieved using skinned weights and joint transformations. For best results, bake animations onto the joints and where possible, try to set up animations so that they loop. This is purely aesthetic - though avoiding large jumps in character position from the end back to the start of the animation is certainly desirable. We also recommend keeping the length of your animation under ten seconds.
Texturing
For optimal performance try to use only one set of 2048x 2048 PBR (Physically Based Rendering) textures. If you must have multiple PBR textures and materials, try to keep them to a minimum while avoiding per-face material assignments. Depending on which software/plugin you use to create these 3D formats, you can select swatch colours/values instead of using textures to save on precious file size.
We usually aim for our final USDZ to be smaller than 12MB, but on average our USDZs have been around 6MB. You will struggle to load or host the USDZ on a website if it is too heavy.
GLB / glTF files above 10MB aren’t widely supported. The sweet spot for targeting most browsers is 2-3MB.


Lighting
USDZ materials use PBR shaders, so achieving nice lighting information depends entirely on the quality of your PBR textures and materials. In addition, iOS goes some way to help create nice lighting - its technology computes some environment illumination for you, and automatically casts a soft ambient occlusion on your model. It does this by capturing some of the lighting information from your camera when you're in AR mode. As a final touch, it will also automatically create a shadow plane underneath your model.
GLB files also rely on PBR shaders for their lighting information, and also automatically have a shadow plane created by GLB viewers. Android operating systems will compute some lighting based on the illumination detected by the camera, though it only brightens or darkens the whole model in line with the light conditions of the environment the phone is looking at. The major difference between these files and the iOS specific counterparts is that GLB shaders can have cubemaps embedded in them to provide some reflection to the surfaces.

Troubleshooting
Invariably when creating these 3D formats we have run into issues - the majority of which have been related to animations. Here is a checklist of issues for USDZ/GLB/GLTF we have encountered during export and some potential solutions to give you a head start:
Check the version of your software and any plugins you may be using - make sure they are up to date!
If you have an animated model, try exporting without the animation first, to see if the problem is coming from the skinned mesh.
If the non-animated version works:
Try cleaning up the skinned meshes
Re-skin to double check for errors
Make sure skin weights are normalized
As a general rule, limit bone influences to 4 per vertice - this can help with animation issues.
You can also try reducing/removing unnecessary joint influences
Try to have only 1 Bind pose.
Check if your software/plugin supports animations, Some of them do not. If these steps haven’t fixed your issue either repeat them or try a different software/plugin.
If the non-animated version doesn’t work, simplify/reduce/cleanup geometry.
Check to see if your model has vertex colour. If it does try deleting it.
Reduce the material/texture count - share materials/texture across different models where possible.
Apply a normal map / paint details into textures instead of modelling detail into geometry.
Again - try different software/plugins
Useful Resources
Lastly, here is a list of some of the software/plugins that can be used to make USDZ files:
j-cube‘s Multiverse plugin for Maya - Variety of uses including Exporting USDZ files.
Blender has the ability to export to USDZ files.
There are a few Python-based tools which allow you to convert files to USDZ.
SimSoft Composer is a paid-plugin USDZ Exporter for Rhino, 3DS, Maya, SketchUp, SolidWorks, Inventor, Revit, and Autodesk Fusion.
Unity has some 3rd party plugins which let you export USDZ files.
Vectary is a browser-agnostic tool which allows you to upload a 3D file and export it as a USDZ.
ViewAR allows you to export a USDZ.
Xcode 10 has built-in conversion capabilities to Create USDZ files.
GLB / glTF
Blender can export glTF and GLB files
Maya2glTF is a free plugin that can export glTF files
Glb-packer.glitch.me is a free browser tool that convers a glTF and its associated files into a GLB file
arvr.google.com/scene-viewer-preview is a free browser tool that lets you view glTF and GLB files, and provides helpful diagnostic information that can inform what you should troubleshoot if your file has issues.